Recently I got married (one whole month ago!) and I thought it might be cool to preserve my wedding bouquet. The wedding flowers are pretty pricey, but they set the mood and add to the beauty of the day— I would really like to remember even the smallest details of the day.
So, I was looking up how to preserve my bouquet and found some helpful tips online, but as per usual I try things out in my own way, so here are some tips I found in my trial and error— you really only have one shot at this, so consider my advice.
BUT FIRST— Here’s what you’ll need:
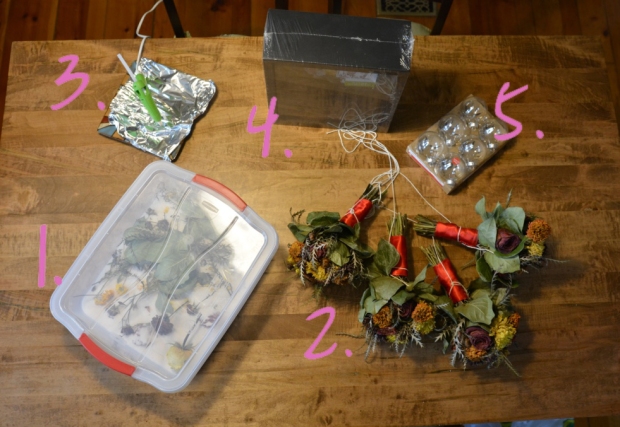
 An air-tight container and some silica gel (and your bouquet, of course)
 Dried bridal party bouquets— I hung these upside-down as a cautionary measure because I had never used silica gel before, so I wanted a solid backup plan. Honestly, I didn’t end up needing them, but if you want extra foliage for volume, it might be a good idea.
 A hot glue gun and glue sticks
![]()
A deep shadow box; unlike a photo frame, this will accommodate something with more volume, so make sure it can carry significant depth.
 Glass, fillable christmas ornaments— this was just something I wanted to try and it actually worked out really well.
So what the heck do you do?
 Buy enough silica gel! I only bought one box because each one was $25 and I thought it was over-priced. While my one box worked okay, I know that the results would have been better if I had two boxes. The ideas is that you take apart your wedding bouquet place each flower individually in silica gel. Plus, you can reuse the silica for a very long time, so it’s not a waste to have more.
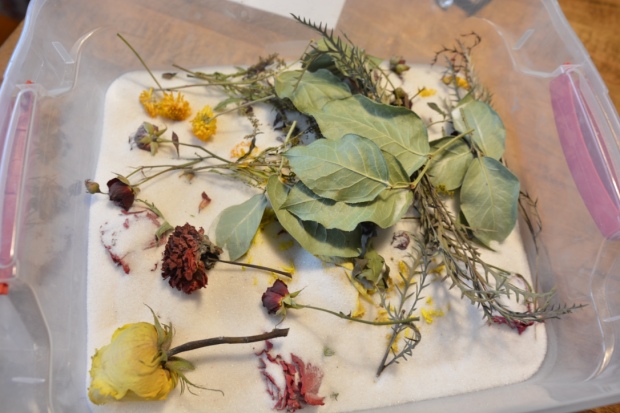
So, in your air-tight container, put down an initial layer of silica gel, then place each flower/leaf you want to preserve and make sure they don’t touch each other (much). For flowers, fill the flower with a bit of the silica so that it can be dried on the inside as well. After you’ve placed your flowers, top it off with another layer of silica so that it is covered. I couldn’t do that with my flowers, so I just put the more delicate flowers at the bottom and made sure they were covered and I hoped for the best for the rest. Shut the air-tight container and wait for a couple of weeks.
 Cover your mouth and nose when you pour the silica gel. It doesn’t actually tell you to do that on the box, and it’s probably not that big of a deal, but the silica’s job is to absorb moisture and I noticed that if I breathed it in I would start coughing and feel very dry. So, maybe I’m paranoid but I didn’t want that in my system.
 I also dried my bridal party’s bouquets as a backup, just incase my less-than-satisfactory amount of silica didn’t do the job. If you’re going to do this, for goodness sake unwrap the bouquets, pat them dry, and THEN tie them and hang them upside-down. I didn’t do this and when I unwrapped them when they were dry there was mold growing on a bunch of them.
When everything was done drying I could see a significant difference between the silica-dried flowers versus the upside-down ones.
 On the left you can see the flowers that were placed in silica gel— their colour and shape were preserved much better than those that were simply hung upside-down. I think if I had fully buried them, they would have been even better. My wedding was an autumn-themed wedding, so the colours were very bright when they were fresh.
 When you start building together your bouquet, start by making a full, green background base. This gives you something to build off of, and makes sure that no matter what you place next you don’t have any empty space. I chose to make my shadow box as though I were looking down at my bouquet from above, so I built up the shape as it would be if I was holding it below.

I made sure to balance it out with all the foliage and sprigs of other leaves, like it was on the big day.
 I put one prominent flower (in this case, a yellow rose) in the middle of the bouquet and built out from there. I found this made it easier to be symmetrical, but if you don’t want to do that, let your creativity shine!
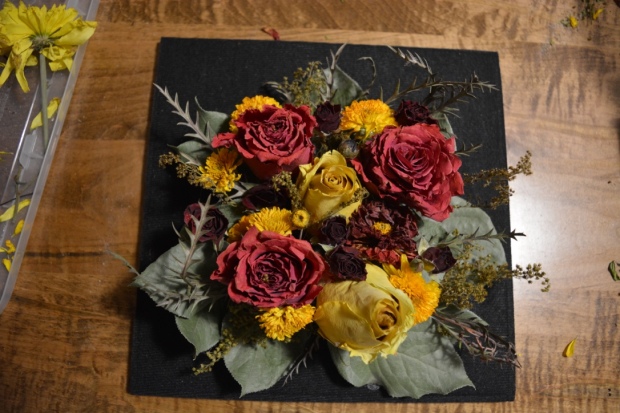
I made sure to vary the size, shape and colours of the flowers so that it looked diverse!
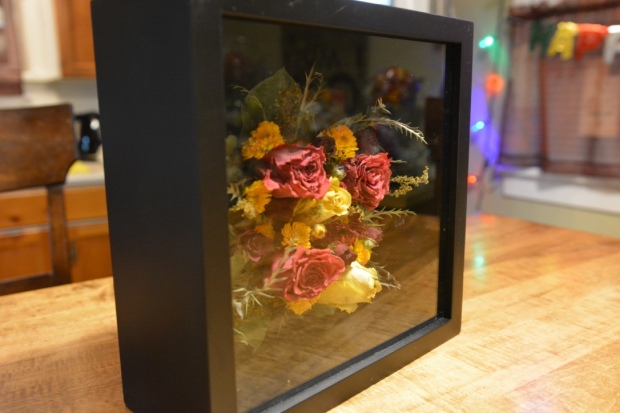
When you’re ready to put it back in the box, make sure the background is clean of stray petals, remaining silica gel and glue. Flip it upside-down and give it a gentle shake (gentle!!) to make sure anything loose falls (or needs re-gluing).
Clean the glass before you put your flowers in the box to make sure you don’t need to undo it later!

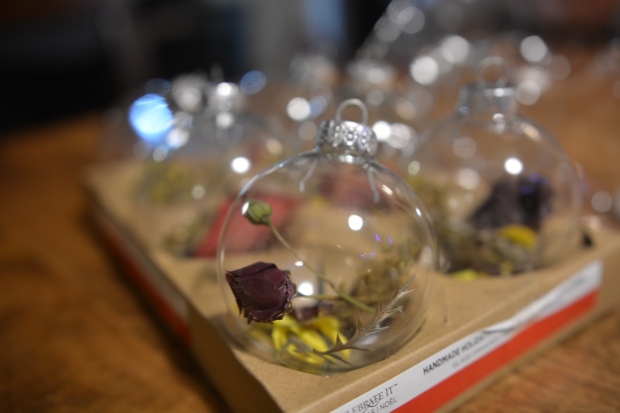
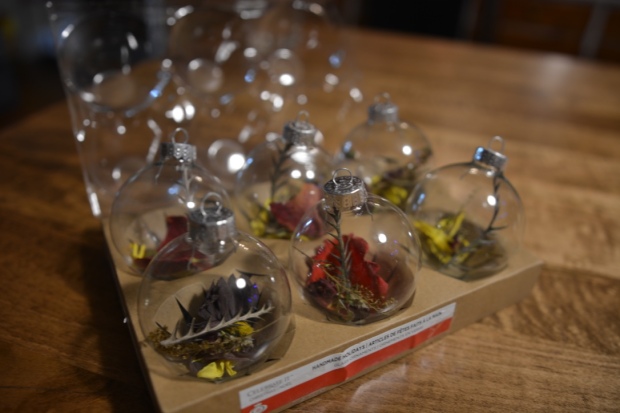
I then wanted to make some meaningful Christmas ornaments, so I took some of the smaller flowers, petals, and leaves and inserted them into empty glass ornaments. For flowers there are no magical strings to pull to make a ship-in-a-bottle look, but if you are gentle you can get a fair amount of things in the glass ball. I chose to do a more minimalist look, and I’m very happy with how it turned out!
I’m going to give some to my new family and also hang some up on our own Christmas tree!
Good luck, and let me know if you have any other questions!!
xoxo